Sierra International Panther Stainless Steel Skeg Protector Repair Kit Review
Sierra International Panther Stainless Steel Skeg Protector Repair Kit Review
The last thing I ever wanted to do was write a Sierra International Panther Stainless Steel Skeg Protector Repair Kit Review. Why? Because doing so means that I hit an underwater obstacle and damaged my skeg badly enough for it to need repairing 🙁
In my case, it was a rock. But not just any rock. This rock was the king of all rocks in the river I was on that day. This rock has a reputation for chewing up lower units. And now mine was added to the list of victims.
Thankfully it wasn’t total destruction for mine. It was bad, but not critically bad. Bad enough that I wanted to get ti fixed ASAP.
I’m a fanatic when it comes to things being broken or out of sorts at all. I keep my boat extremely clean. So clean in fact that some of my club members like to bust my chops about it!
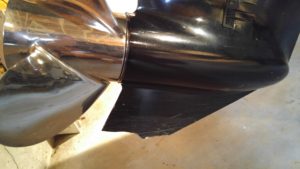
Anyway, the day I hit the rock, the first thing I did after I got home was sit down and start researching skeg repair kits. I spent an hour or more researching, looking at prices, reading reviews, etc. When all was said and done, I chose the Sierra International Panther Stainless Steel Skeg Protector Repair Kit.
First, the price was very reasonable, at $79.09. Most others were $100 or more. And when I compared them, there was no difference between them. So, once I made my choice I bought it, and two days later it was in my hands. A day or two later I was in my garage doing what needed to be done to install it.
First Time For Everything
I had never installed a skeg repair kit before. So this was a first for me. It looked easy and straightforward enough. But still, being something new to me, I was a bit nervous about doing this. It required me to drill holes in my skeg! And I wanted to it be done right!
I read and re-read the instructions that came with it. They were simple and easy to follow. And once I was sure of myself, I got started.
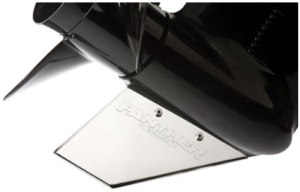
The first thing I needed to do was prep the broken skeg for the Panther repair kit to slide over it. This wasn’t as easy as I thought it would be, since hitting “the” rock had not only left me with a jagged edge, but it also caused the bottom of what was left of my skeg to be oh-so-slightly bent.
So, I got my file out and starting re-working that wounded skeg. I filed and tried to slide the skeg repair over it. Not enough. Filed some more and tried again. Not quite there yet!
A little more filing, a little more filing. Try again. This time it started to slide up onto it. There was a little more resistance than I wanted to feel, so I pulled it off and filed it some more.
Once I finally got it to where it needed to be, I started sliding it onto the bottom of the skeg and pushing it upward with my hands. And then when it met a bit more resistance than my hands could overcome, I used a piece of 2×4 and a small hammer to gently tap it upward until it ended up where it needed to be.
Whew! Glad that was done.
Now I Needed to Drill Holes in My Skeg
Now that I had been able to position the skeg repair kit onto the broken skeg, I needed to drill holes through my old skeg so I could put the screws in place that would hold it there for as long as I wanted it to be there.
This part actually made me more nervous than the previous step. After all, filing was only minor stuff. This meant drilling all the way through my skeg!
But again, I referred back to the very specific instructions and made sure I chose the drill bit size they recommended and set about drilling the two holes.
Before doing so, though, I looked at everything closely and made good and sure that the repair kit was slid up all the way and was straight from front to back. Once I knew for sure that it was, I drilled the first hole. Then I slid screw number 1 through that hole to make sure everything lined up properly. Bingo!
Hole number two was now drilled and that screw was slid through the hole with no problems.
Let me stop here for a moment and mention that when drilling these two holes, it’s important that the hole be drilled straight through the skeg. Even a slight angle will cause the hole not to line up with the holes that were pre-drilled in the repair kit sleeve.
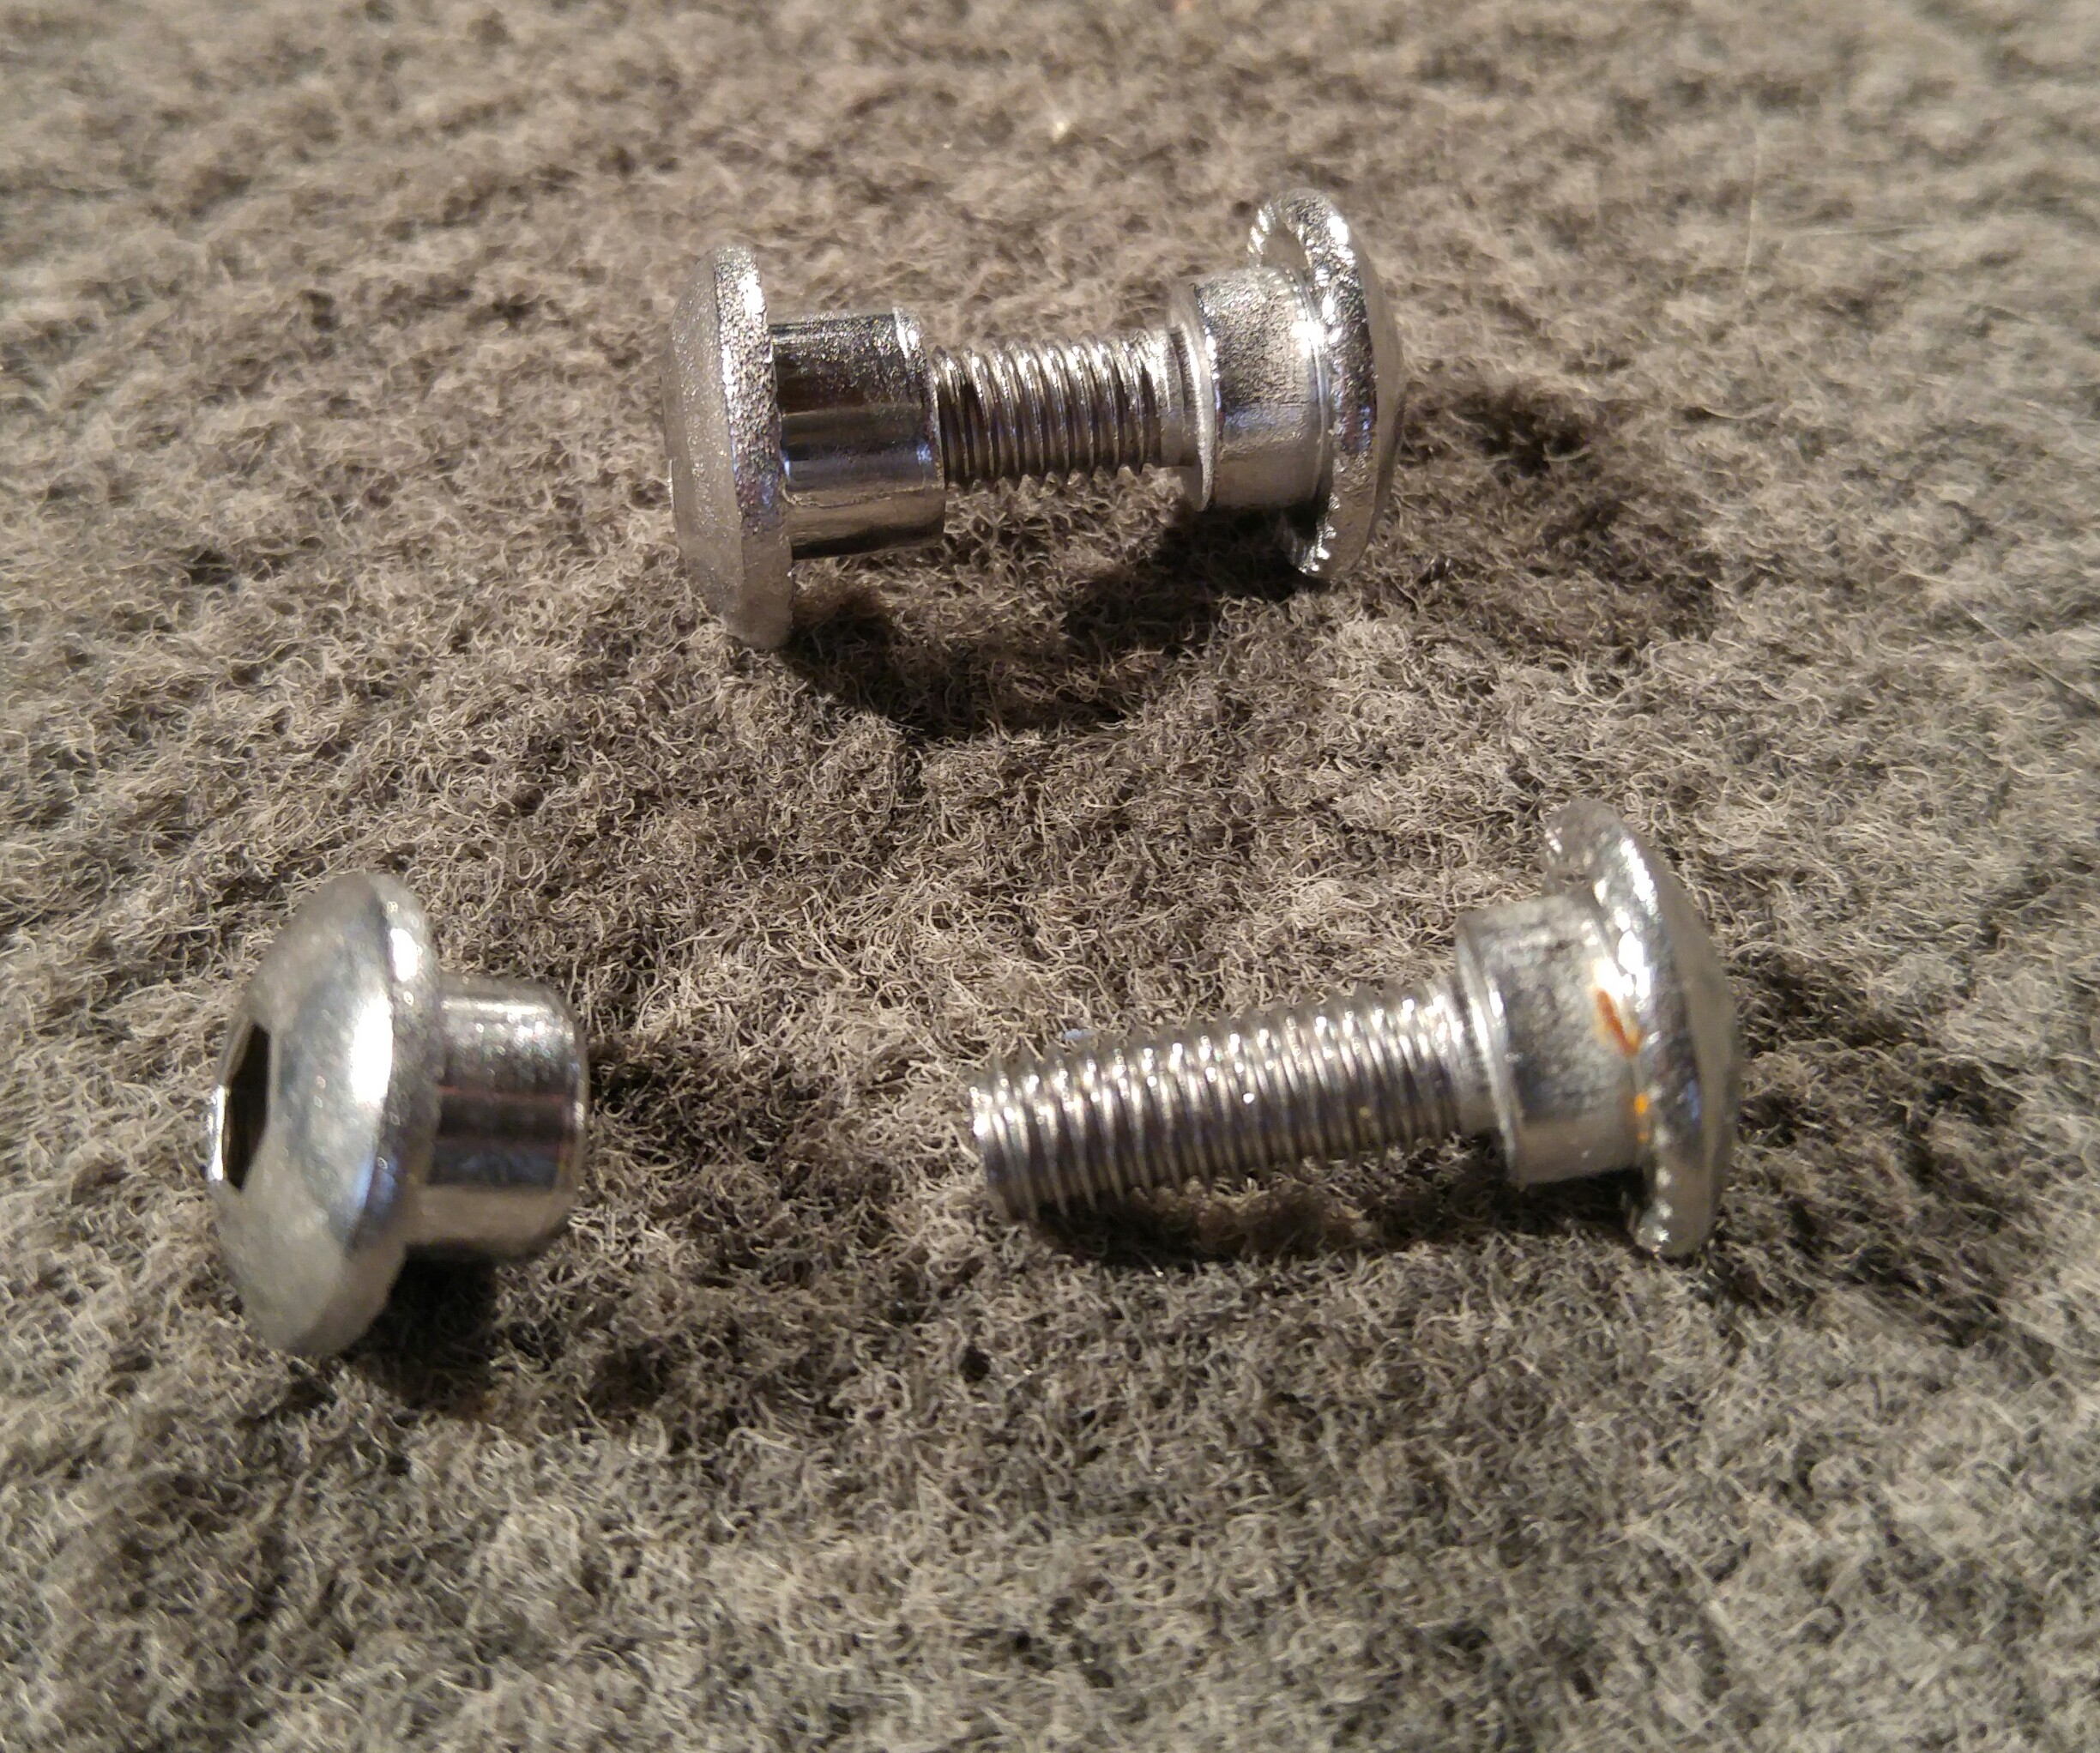
I simply threaded them on by hand and ran into no problems. Now, you’d think that the next logical step would be to tighten the nuts on and be done.
But, the repair kit came with a special tube of liquid that had to be applied to the threads of the screws before threading the huts on and tightening them up.
This liquid would harden and prevent the crews and nuts from inadvertently loosening up once this job was finished and the boat was back in use. So I removed the screws and applied the adhesive, per the included instructions. Then I threaded everything back together and snugged it all down good and tight.
Finished in No Time
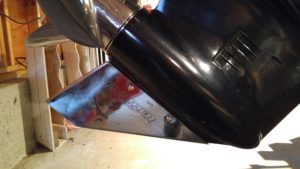
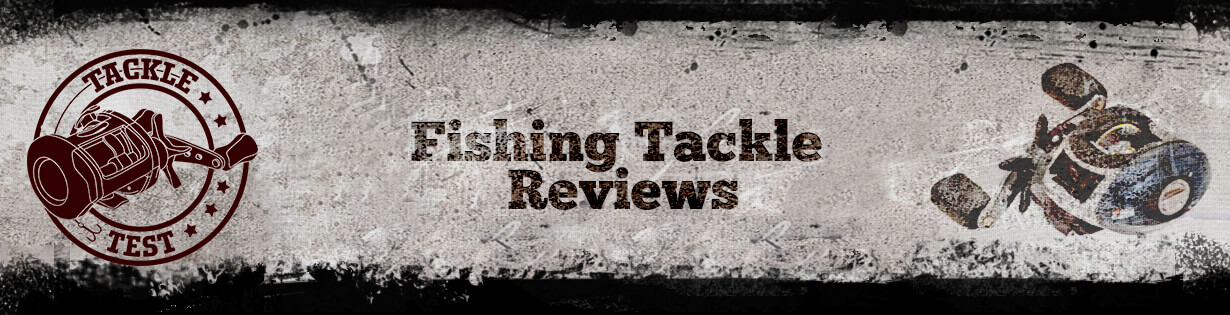
I stepped back and looked at it. I was happy and satisfied that my skeg now looked good.
SInce then, I have put another full season, plus part of another on my boat. The skeg repair kit has stayed perfectly in place, with no issues whatsoever. It has also not hurt the performance of my boat or outboard at all. Everything is as it was before my skeg was damaged.
It still looks good and is doing its job. Thankfully I haven’t hit anymore big rocks with it. I have bumped a few while fishing with the trolling motor, but nothing that would do more than make a minor scratch on the bottom edge of it.
Final Thoughts
This is a simple item. There are no moving parts to break or malfunction. The only thing that could really go wrong is that the screws would fall out. But the manufacturer thought of this ahead of time and provided the liquid adhesive to prevent that from happening.
The instructions were extremely straightforward and easy to follow. You just need to be sure to read through them once or twice to get familiar with them before starting the job. Also, be sure you have the proper size drill bit that’s recommended in the instructions. A hole drilled too small or too large won’t work.
Oh, and because this product is sold and shipped by Amazon, Prime members get free 2-day shipping. So the $79.09 price tag is exactly what you pay for it.
This item is a life saver for anyone who has damaged their skeg, and a great value for the price of $79.09 Easily a 5 star product.
If you like this article, please be sure to share it with others!
And feel free to leave comments below.
Good fishing <><


There are no comments yet, add one below.